Quick Start
Set up your first sync — two calendars connected, events flowing through a gate function — in under five minutes.
You will need two calendars to sync between (for example, a Google Calendar and a Microsoft Calendar, or two Google accounts) and access to the email accounts that own them.
CalendarPipe syncs one-way: source → target. To sync both directions, create two rules.
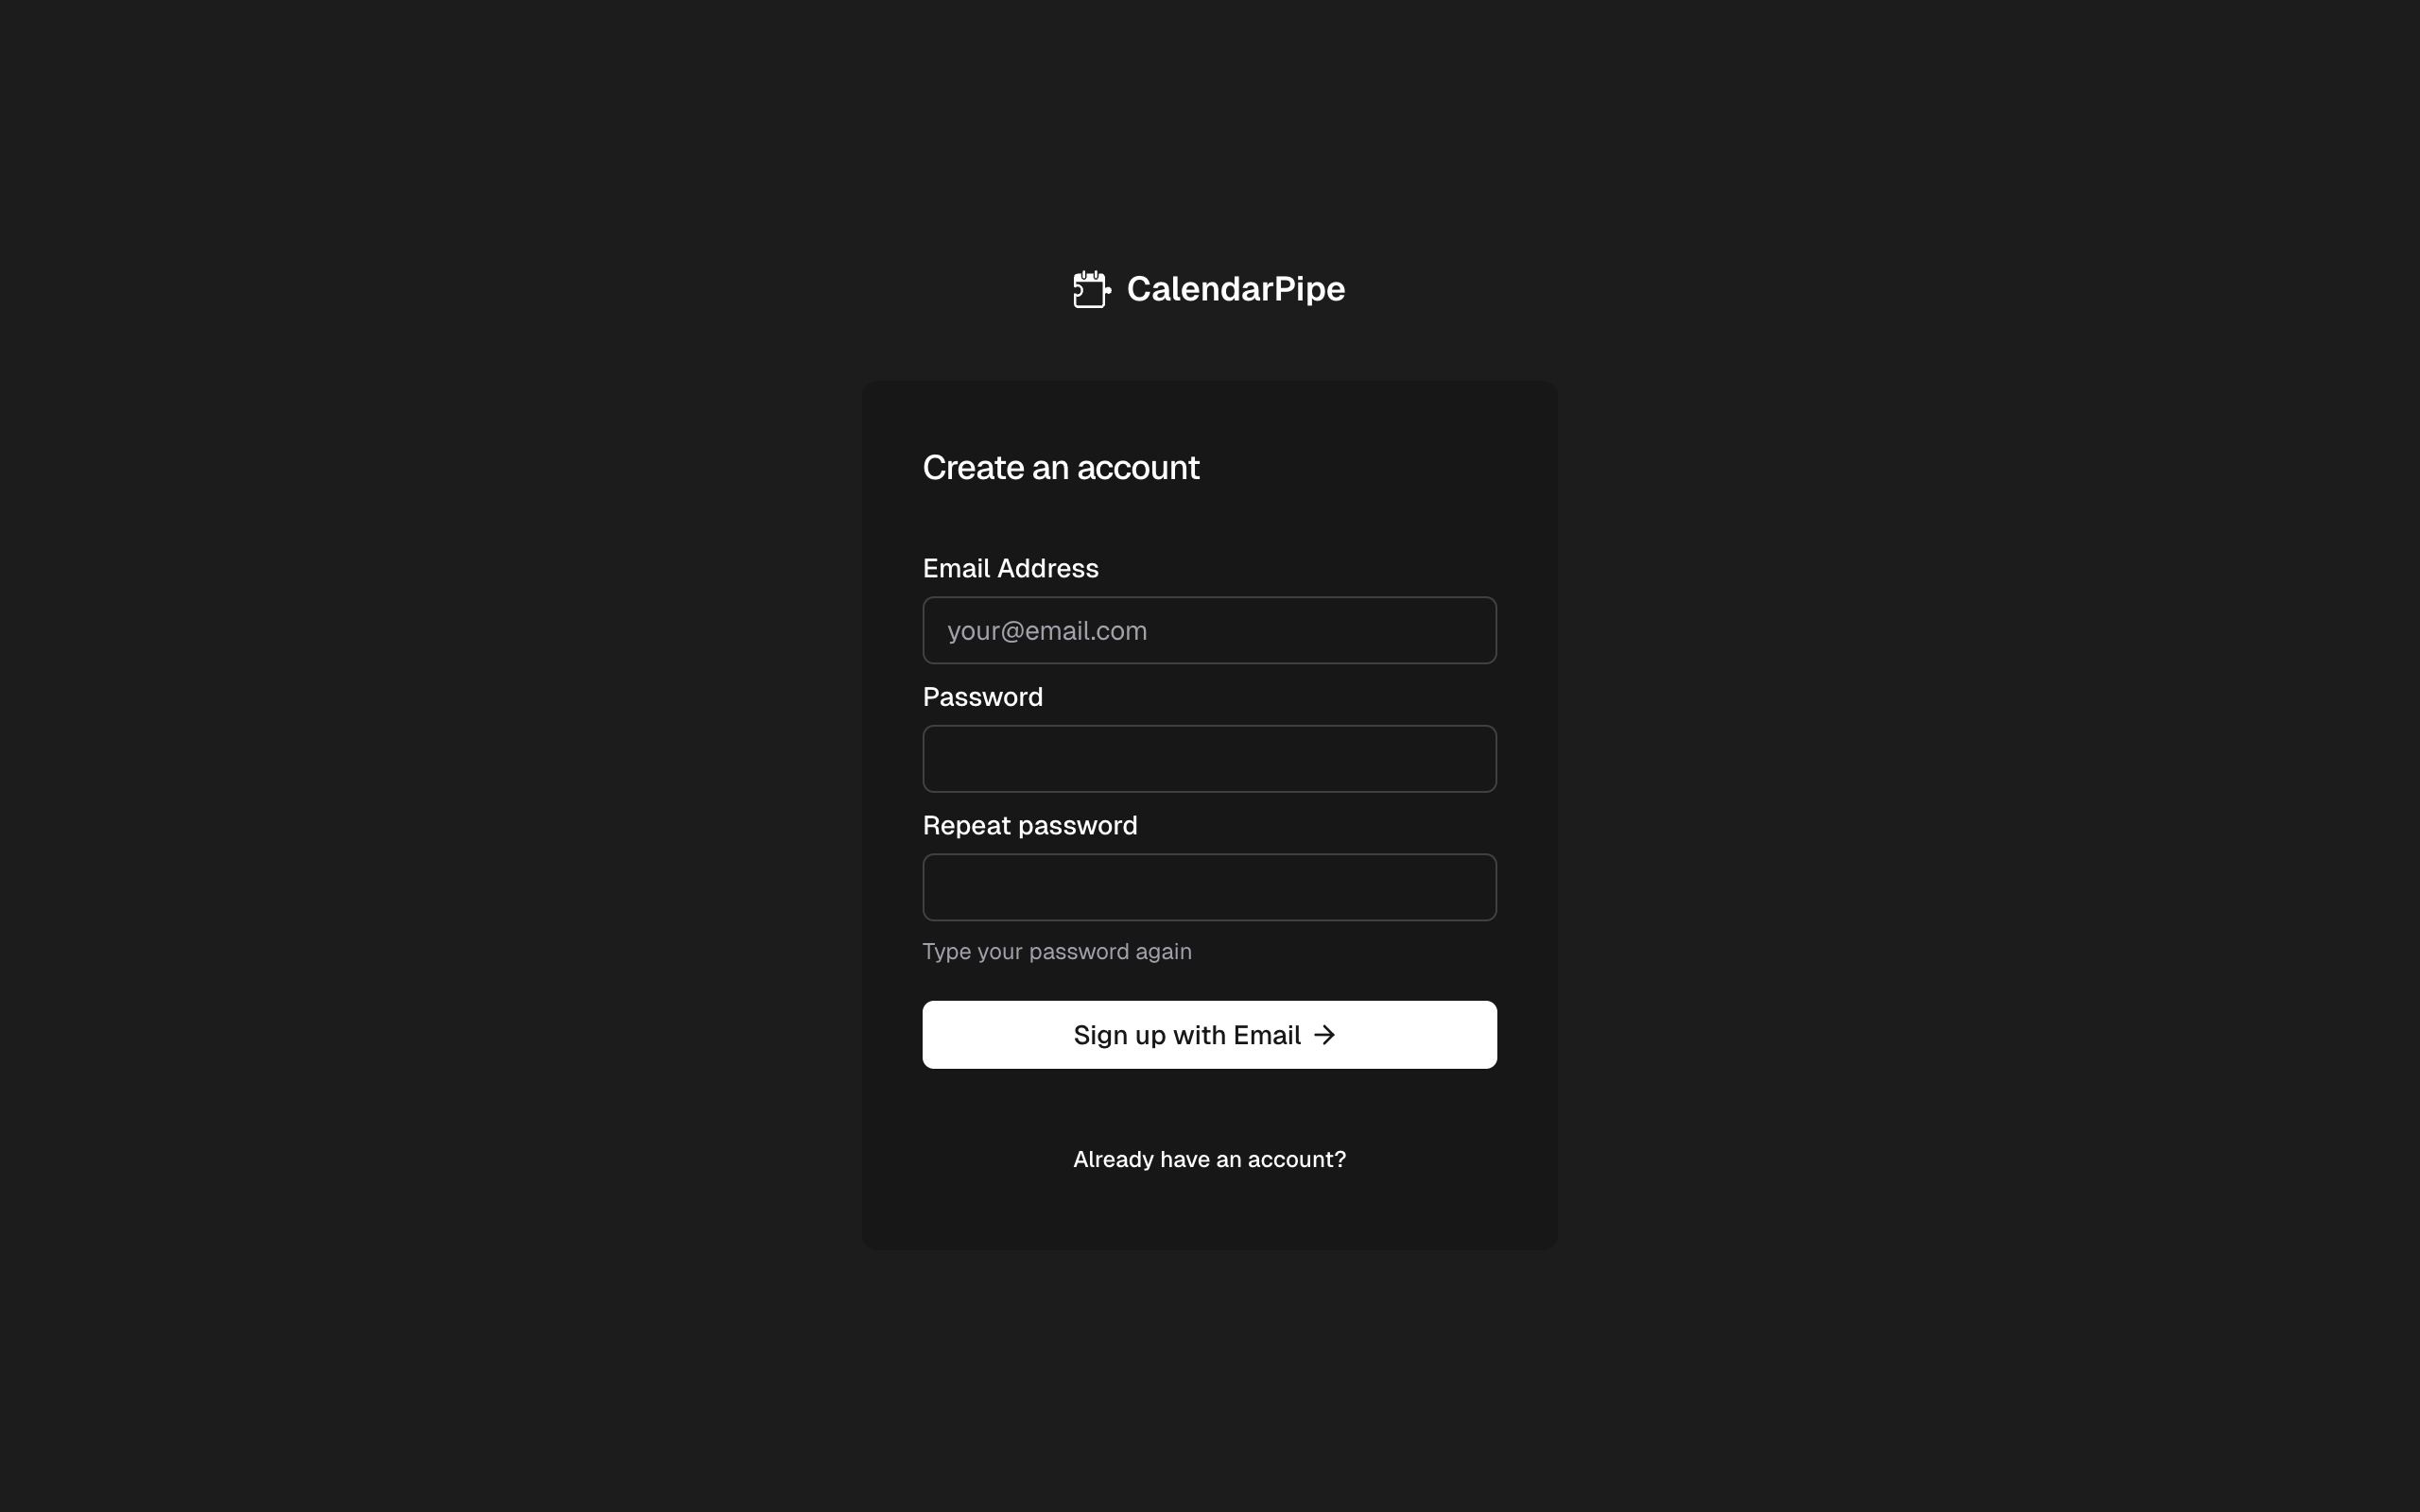
Step 1: Sign up
Go to calendarpipe.com and create your account. You can sign up with email and password or use Google or Microsoft sign-in.
After signing up, you will land on the CalendarPipe dashboard.
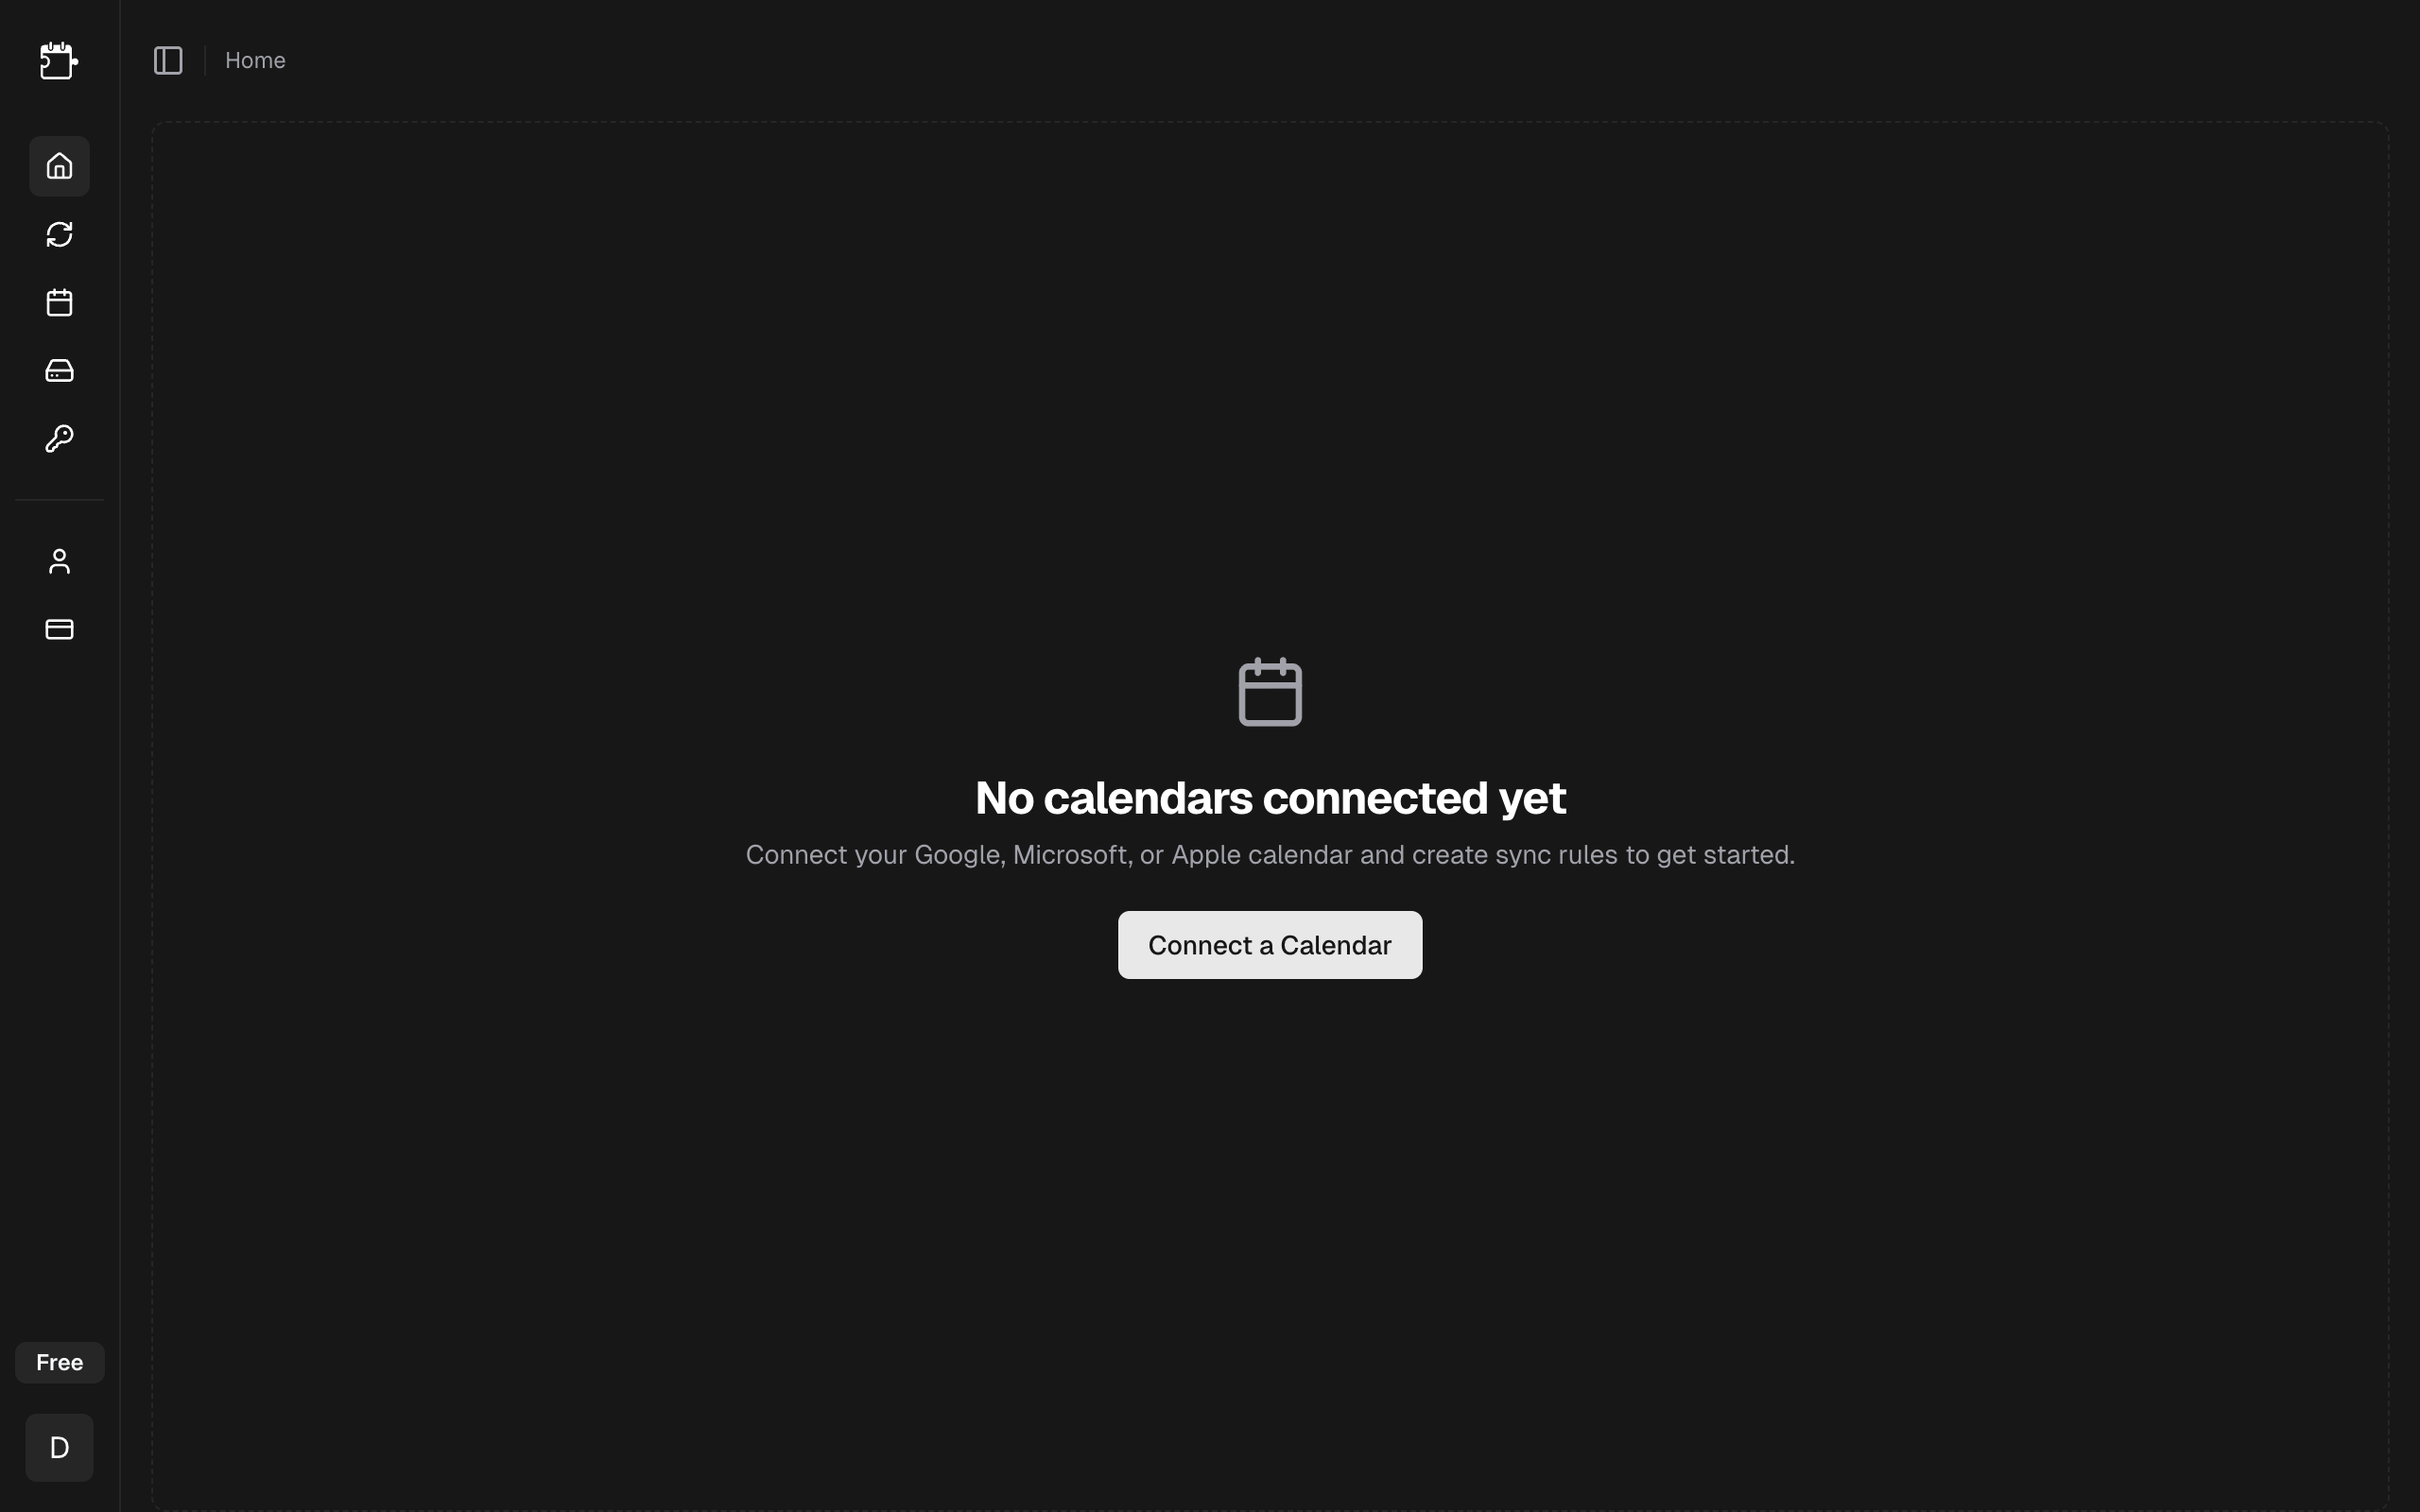
Step 2: Connect your first calendar
Navigate to Calendar Connections in the left sidebar and click Add Connection.
Choose your calendar provider:
- Google Calendar -- Sign in with Google and grant calendar access (detailed guide)
- Microsoft Calendar -- Sign in with Microsoft and grant calendar access (detailed guide)
- Apple Calendar -- Enter your Apple ID and an app-specific password (detailed guide)
Follow the prompts for your chosen provider. Once connected, select which calendars you want CalendarPipe to access.
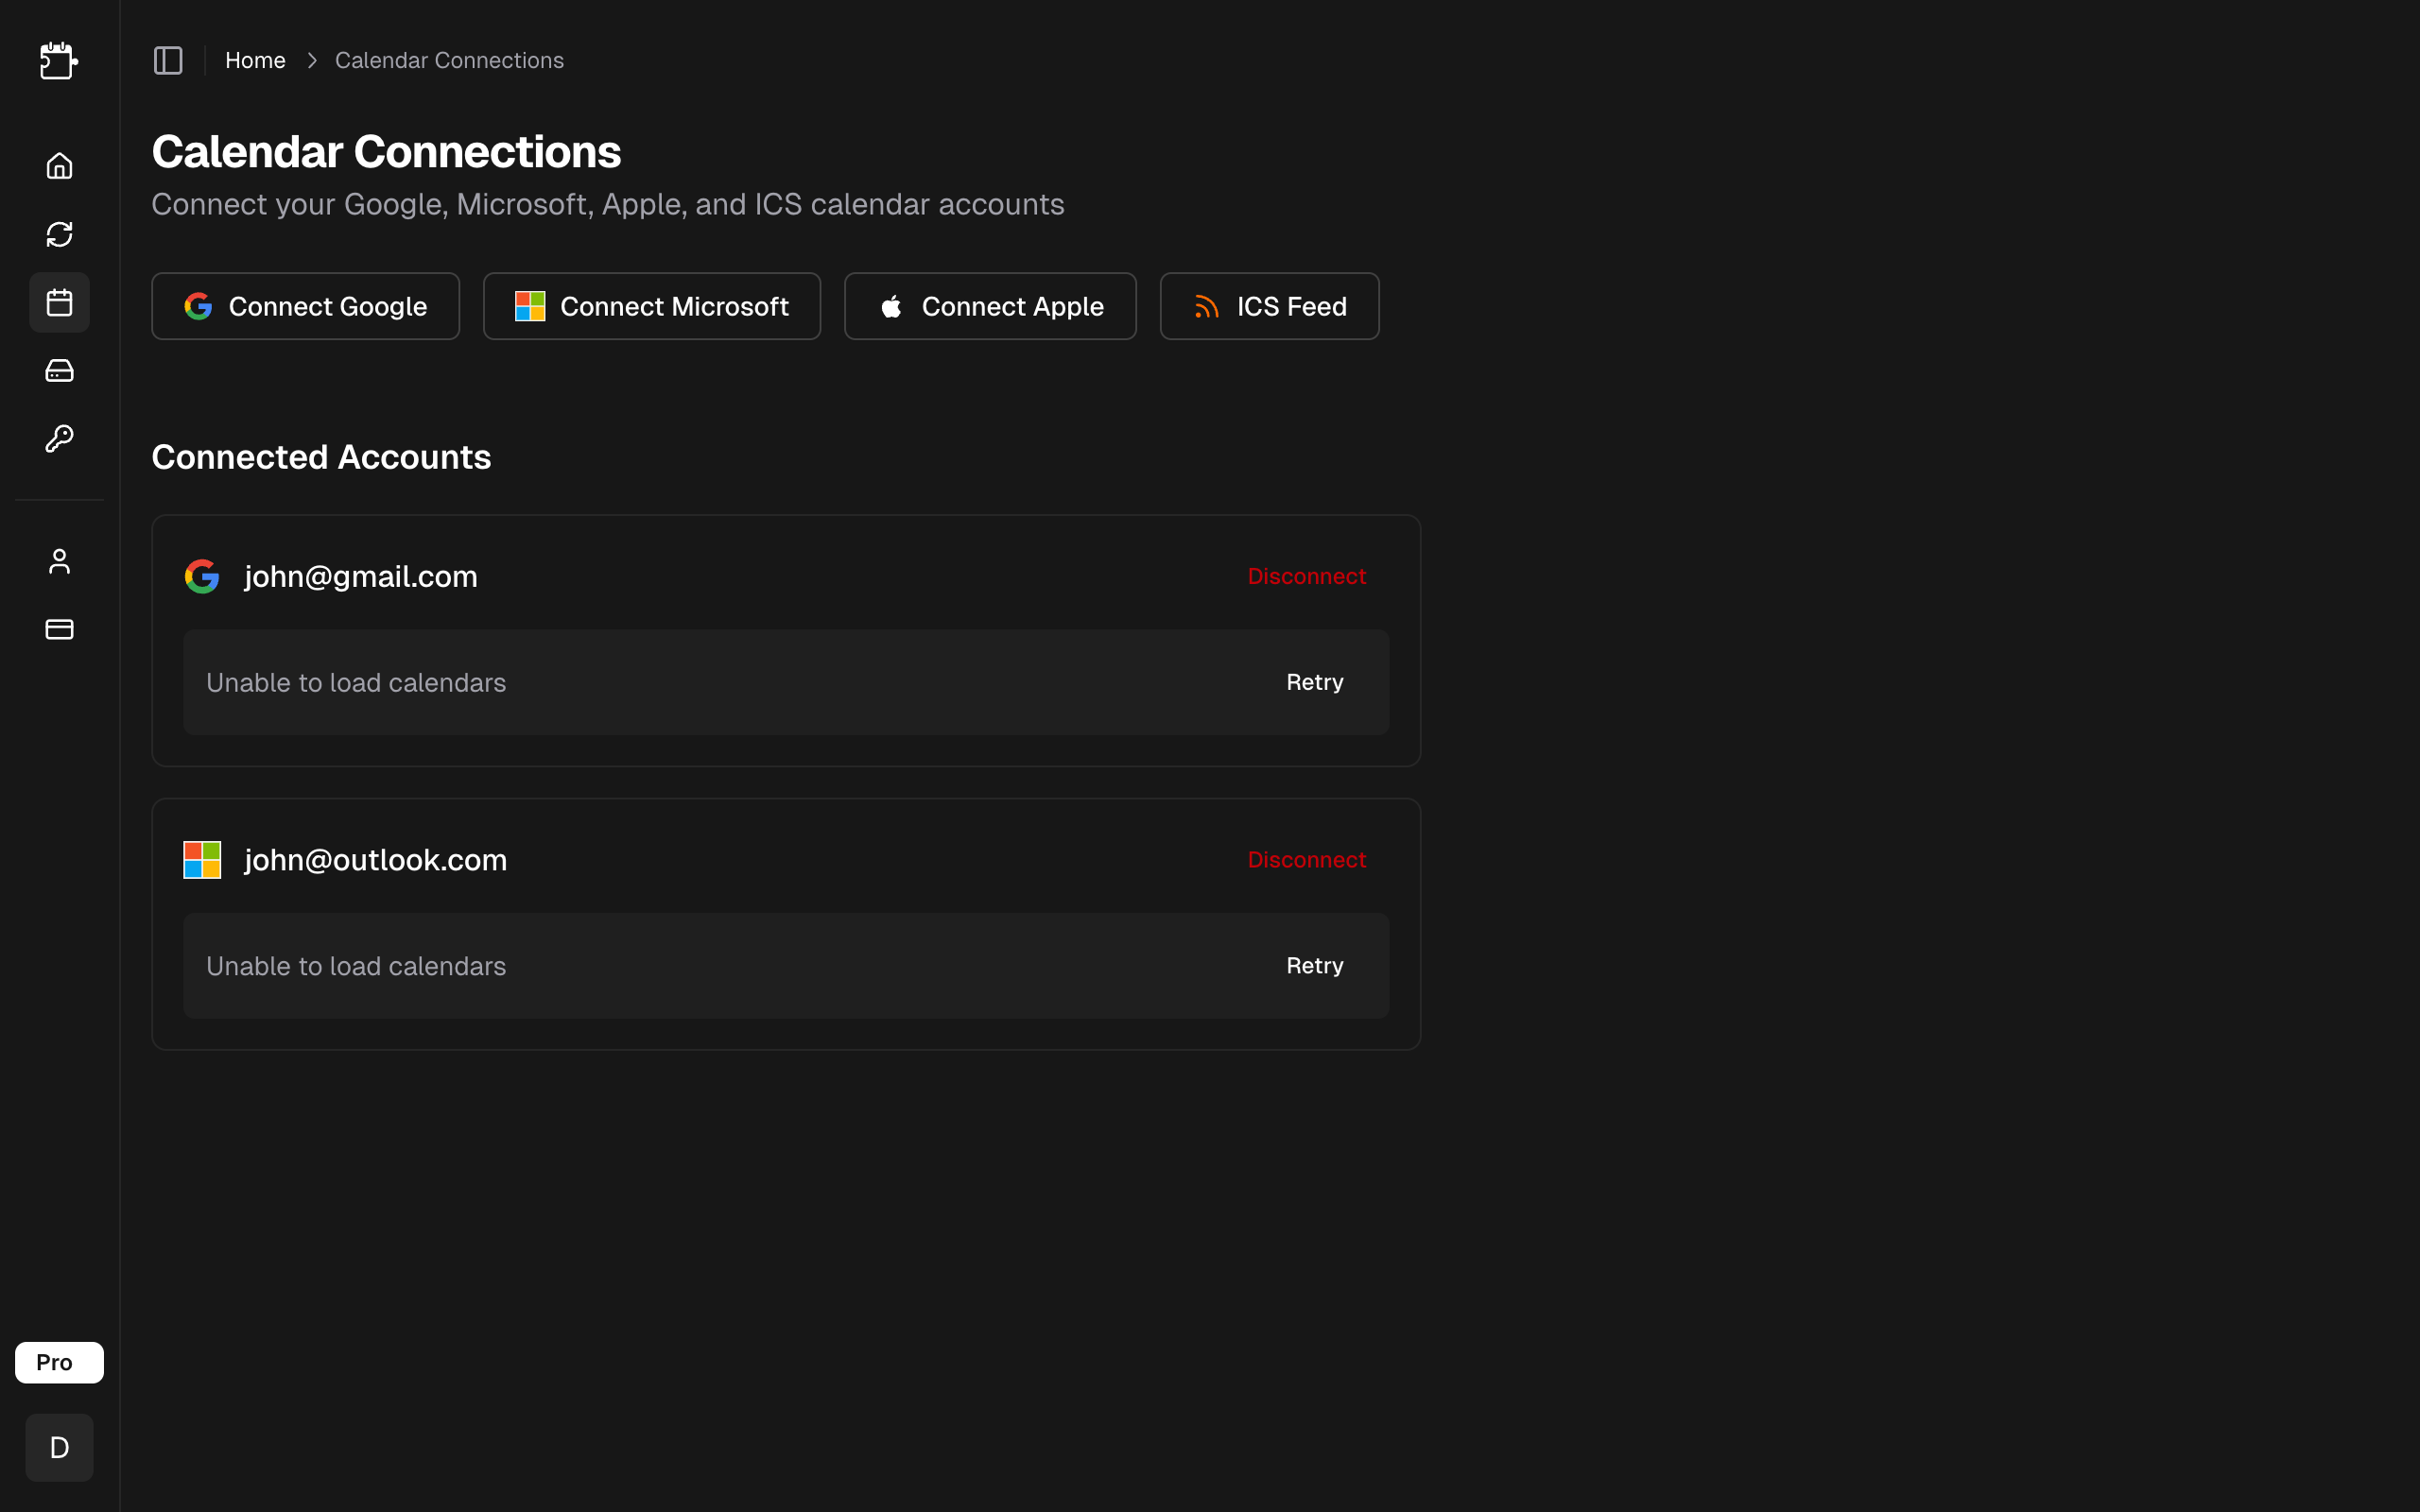
Repeat this step to connect your second calendar. You need at least two calendars to create a sync rule -- one as the source and one as the target.
Step 3: Create a sync rule
Navigate to Sync Rules in the left sidebar and click Create Rule.
- Name your rule -- Choose a descriptive name like "Work to Personal (filtered)"
- Select source calendar -- The calendar events will be read from
- Select target calendar -- The calendar events will be written to
- Choose delivery mode -- Select Direct (default) to write events directly to the target calendar
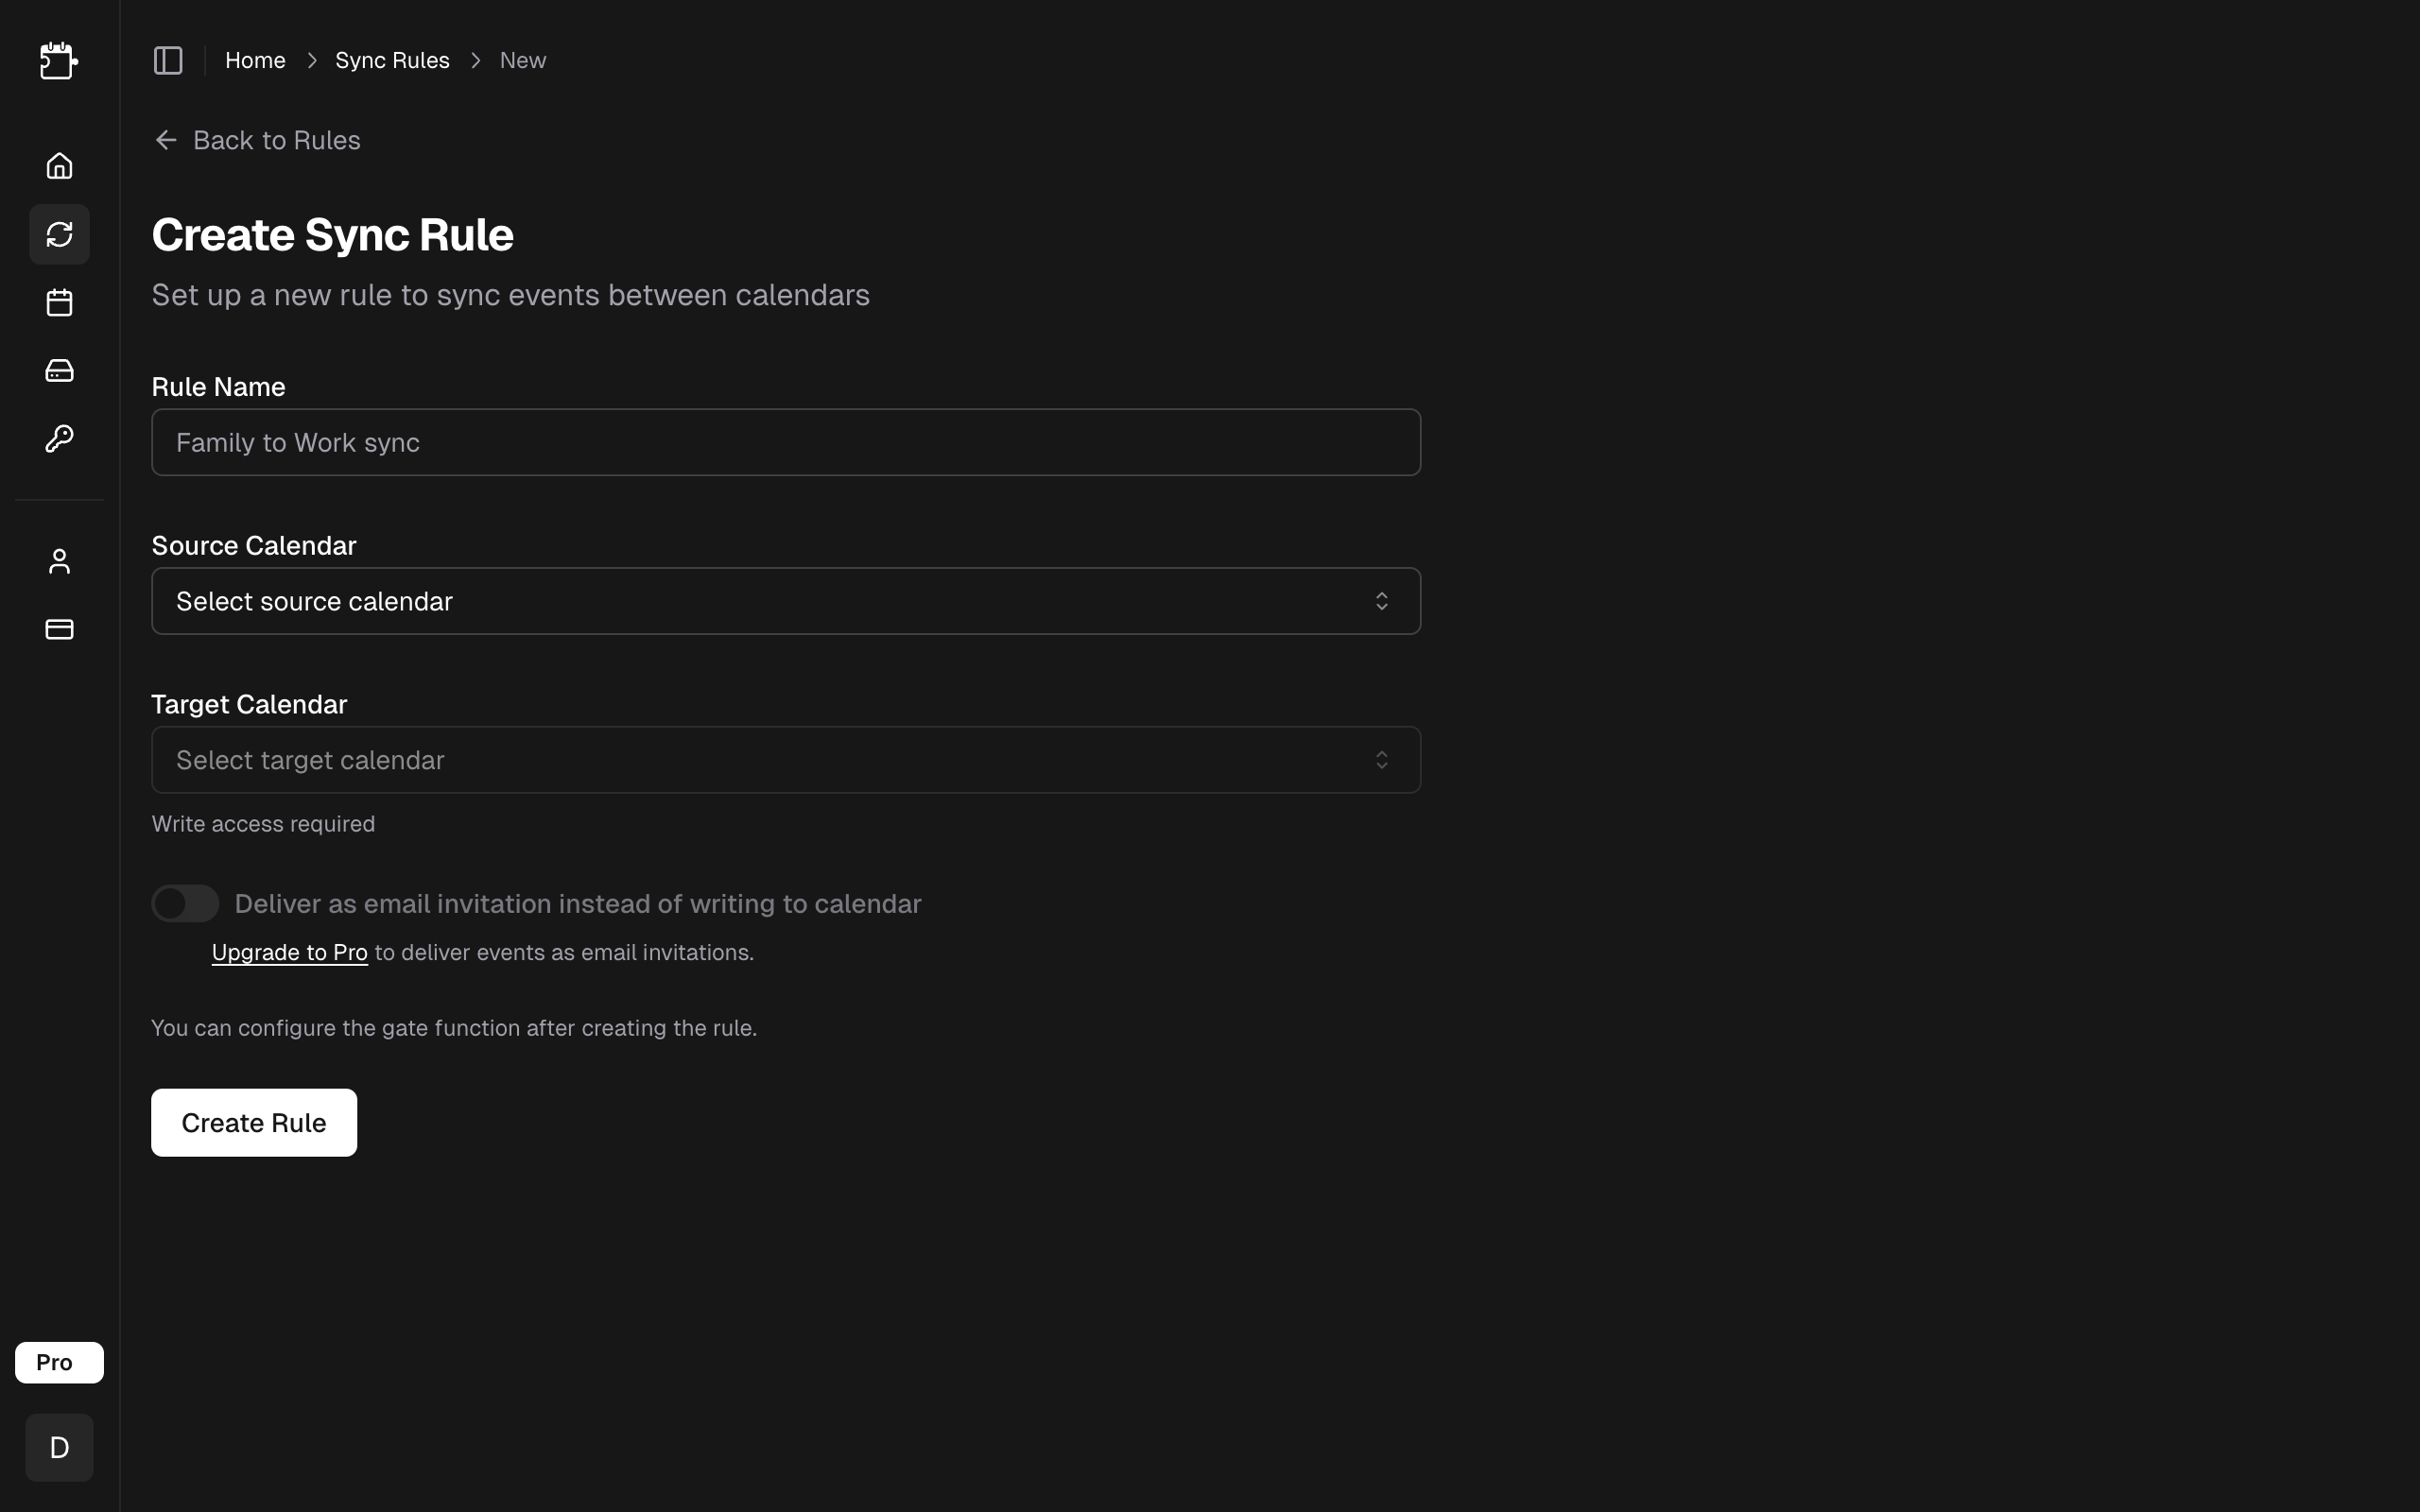
For more details on delivery modes and options, see the Sync Rules guide.
Step 4: Choose a gate function
Every sync rule needs a gate function that decides which events to sync and how. For your first rule, choose one of the built-in templates:
- Copy All Events -- Sync everything without modification (good for getting started)
- Busy Events as "Personal Commitment" -- Only sync busy events with a redacted title
- Weekday Events Only -- Only sync Monday through Friday events
You can always change or customize your gate function later. To learn more about gate functions, see the Gate Functions overview.
Step 5: Verify your sync
After creating your sync rule, CalendarPipe will start syncing events automatically. The first sync happens within a few minutes.
To verify everything is working:
- Open your target calendar in its native app (Google Calendar, Outlook, etc.)
- Look for events from your source calendar appearing on the target
- Check the sync rule in CalendarPipe for the last sync timestamp and event count
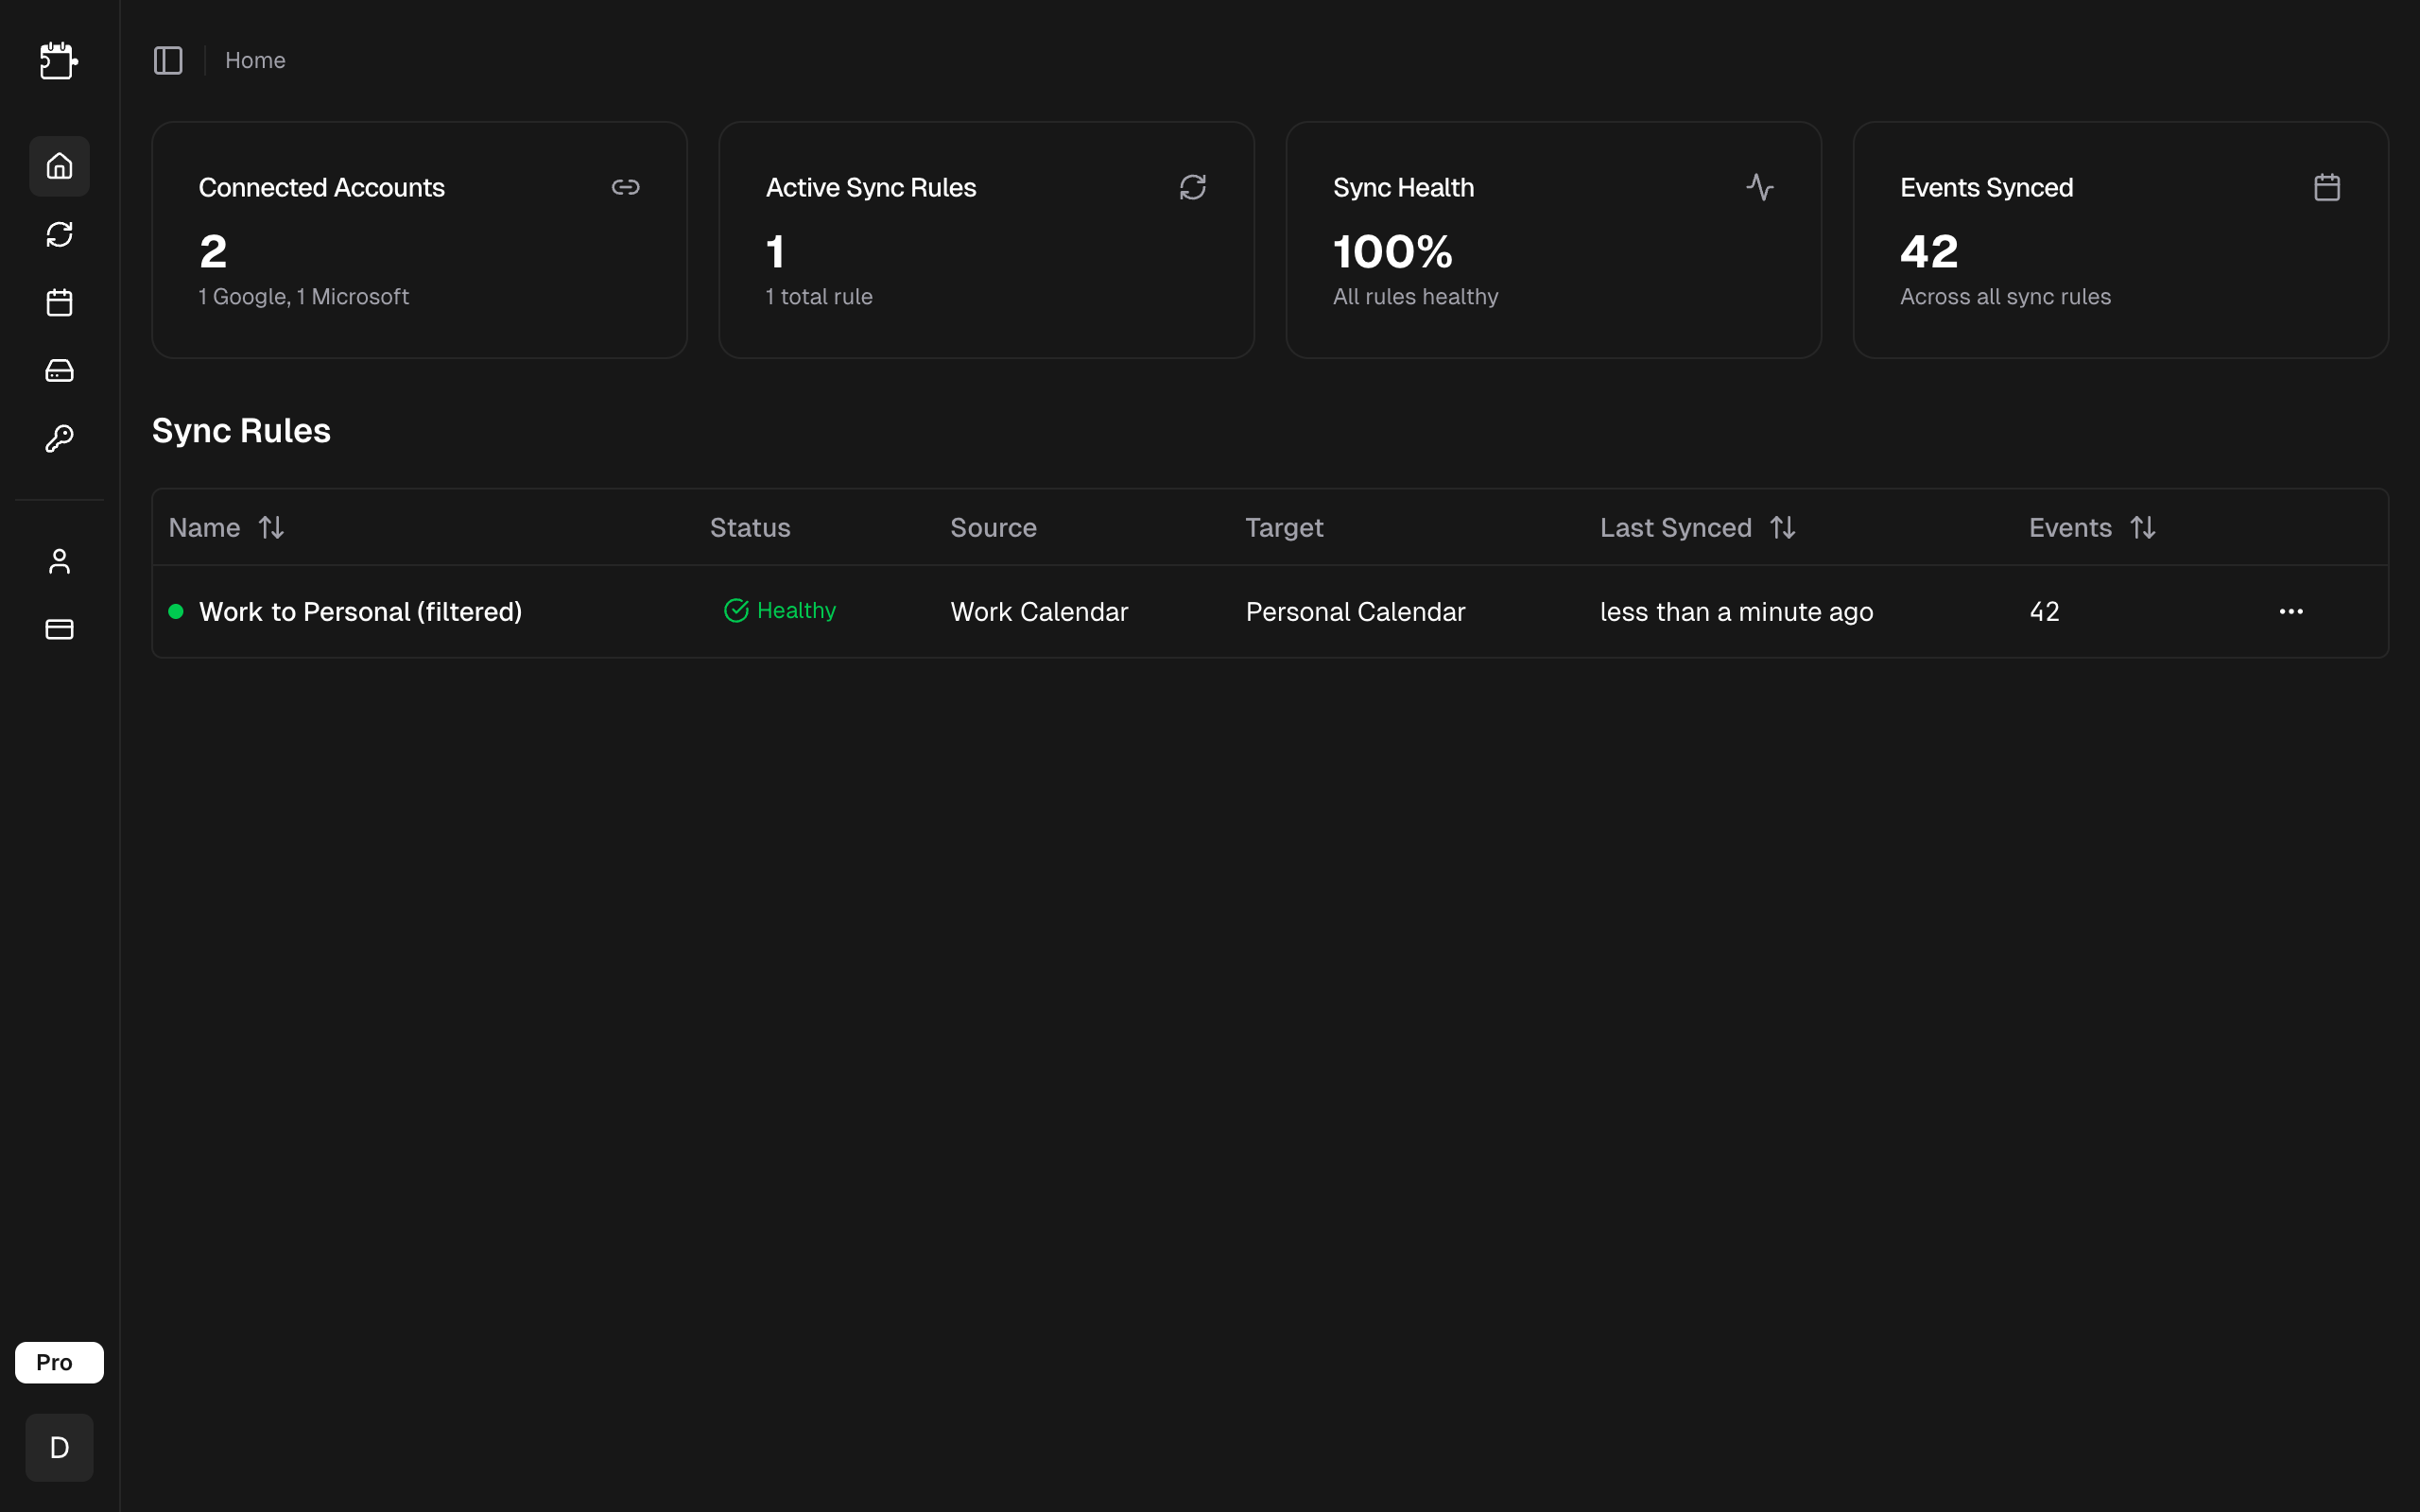
- Free plan: Events sync every 15 minutes
- Pro plan: Events sync every 5 minutes
Changes made in your source calendar will appear in the target calendar at the next sync interval.
What happens next
Your sync rule is now active. CalendarPipe will automatically check your source calendar for new, updated, and deleted events at each sync interval and apply your gate function to each one.
Here are some things you can do next:
- Add more connections -- Connect additional calendars from any supported provider
- Create more rules -- Set up sync rules between different calendar pairs
- Customize gate functions -- Write custom logic to filter and transform events exactly how you want
- Upgrade to Pro -- Get faster sync intervals, ICS feed support, AI-generated gate functions, and more