Account Settings
Your account settings are available from the Settings page in the CalendarPipe sidebar. Here you can update your profile, manage security options, and configure preferences.
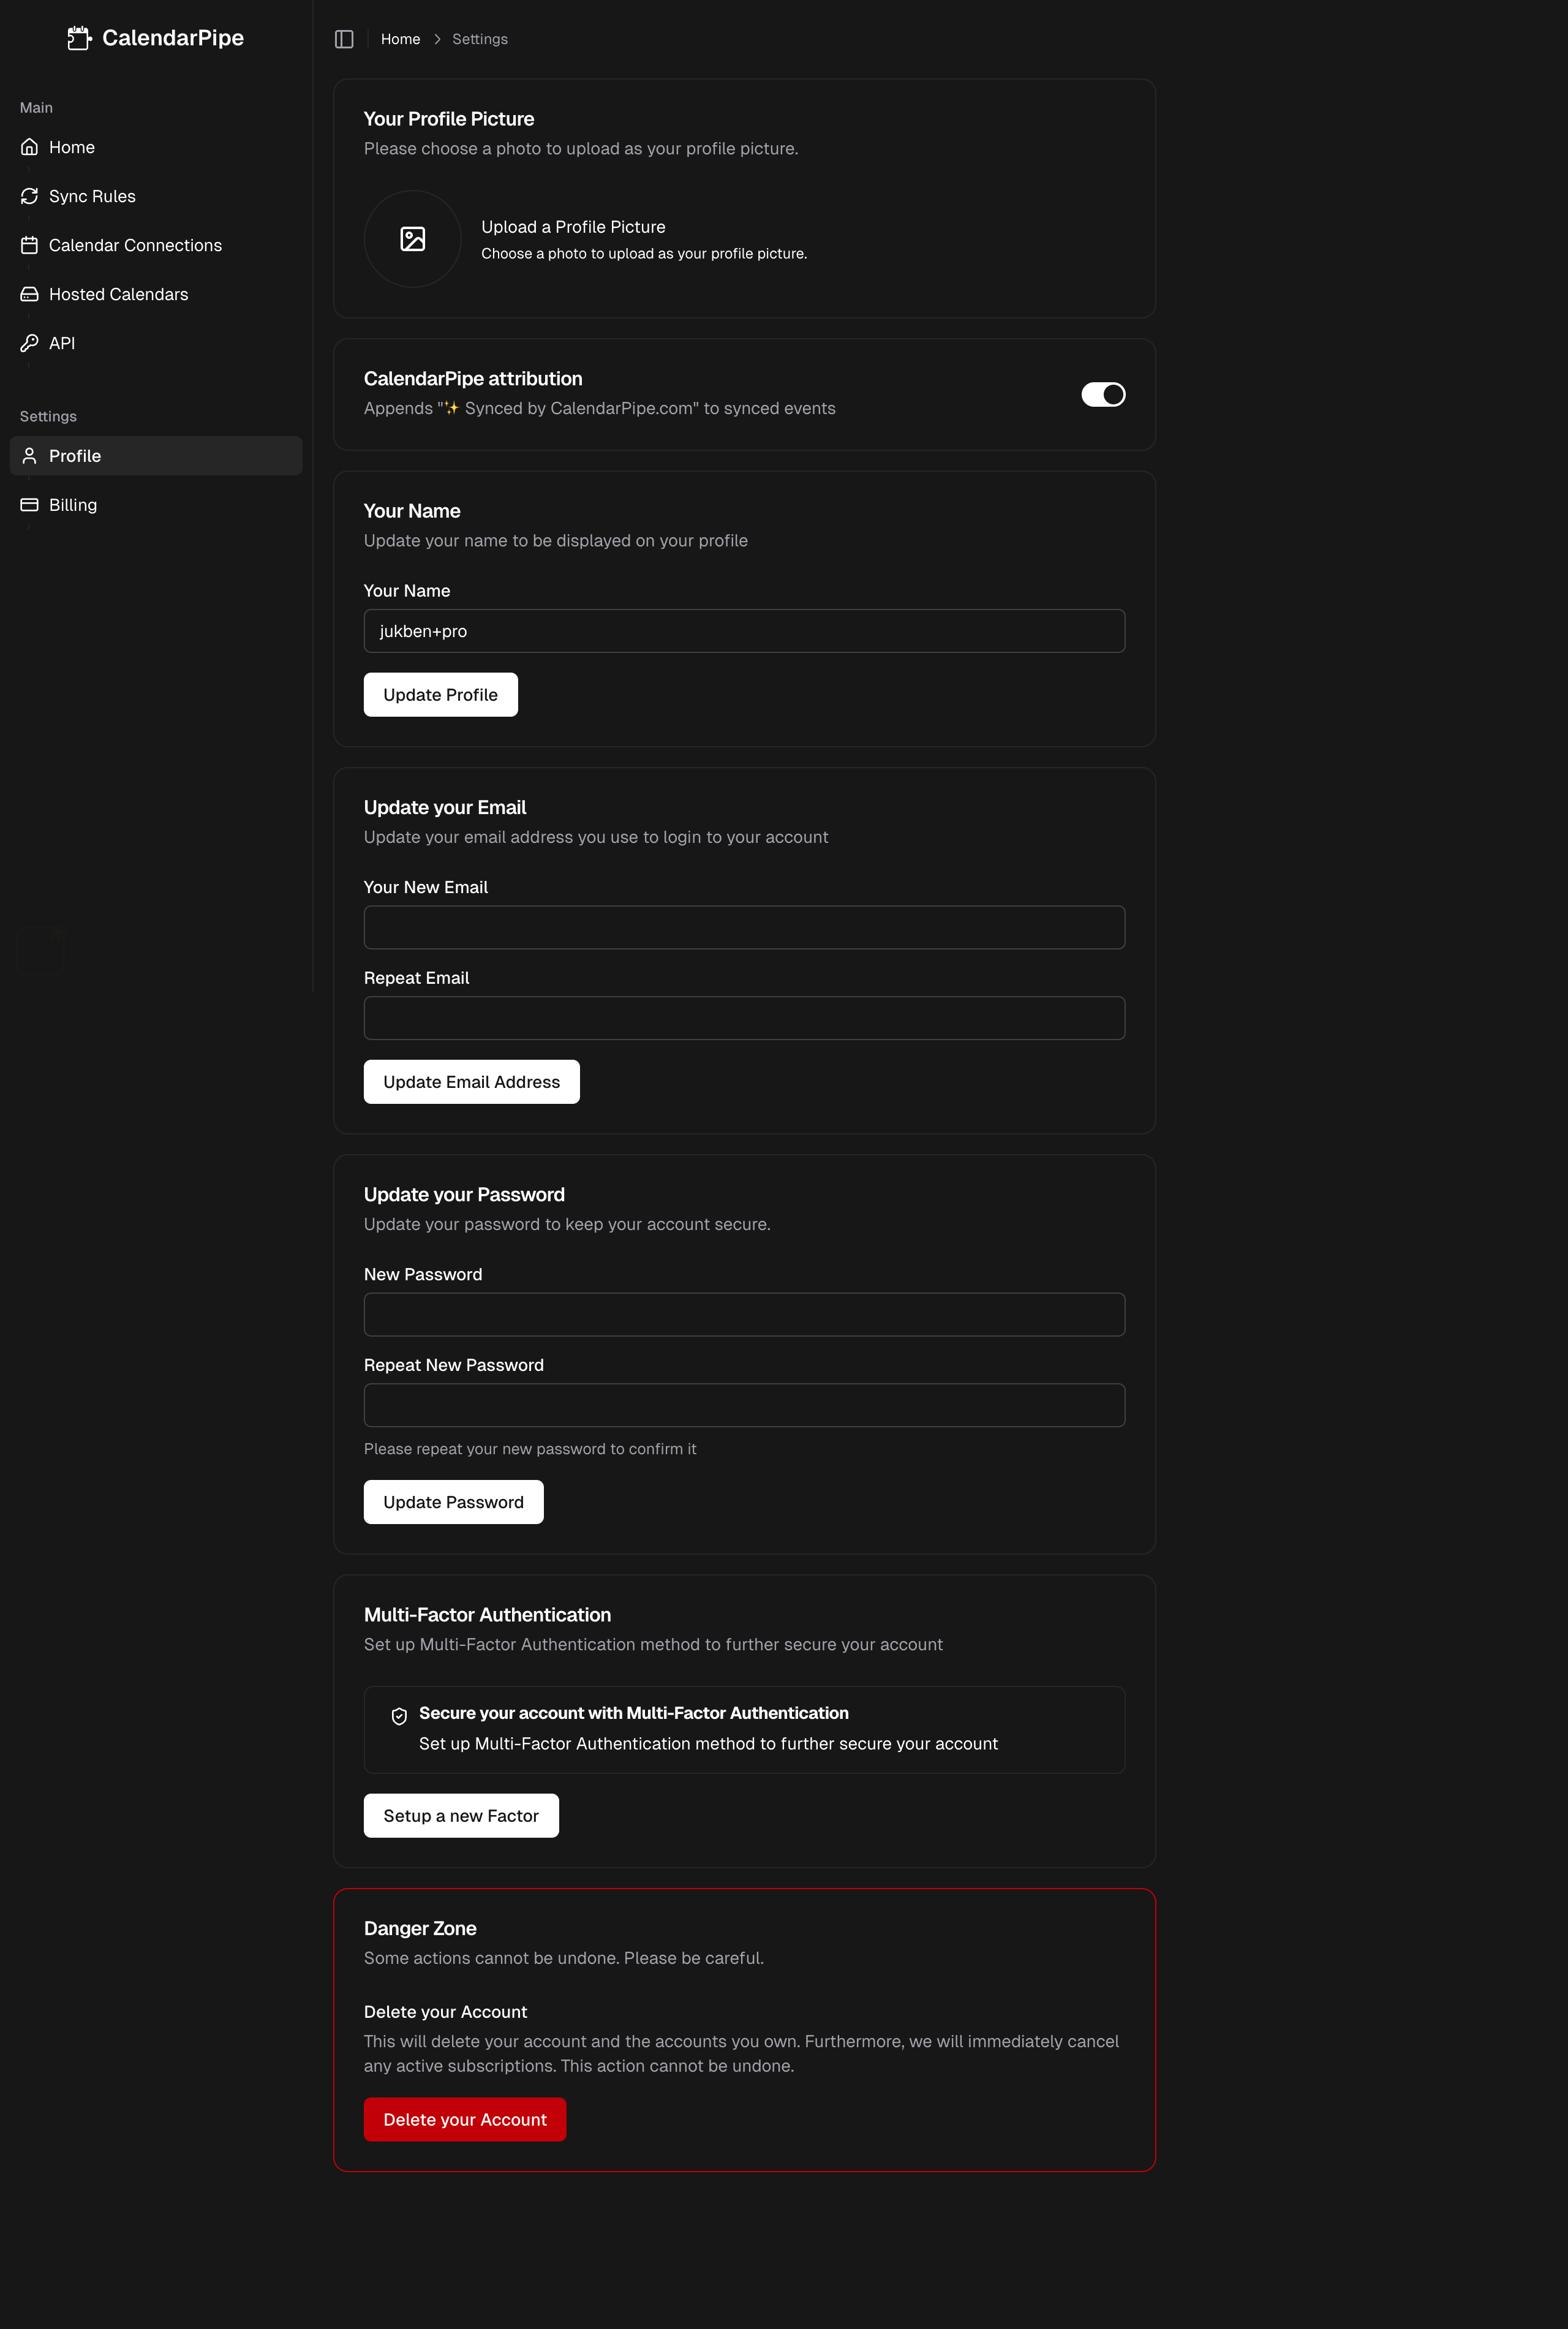
Profile Image
Upload or change your profile avatar. CalendarPipe supports common image formats (JPEG, PNG, GIF, WebP). Your avatar appears in the sidebar and anywhere your profile is displayed.
To update your profile image:
- Go to Settings
- Click on your current avatar or the upload area under Profile Image
- Select an image file from your device
- Your new avatar is saved automatically
Display Name
Update the name displayed on your account. This is the name other users see when you share calendars or send invitations.
To change your display name:
- Go to Settings
- Edit the Display Name field
- Click Save
Email
Change the email address associated with your CalendarPipe account. This is the email you use to log in and where account notifications are sent.
Changing your email requires verification. After submitting the change, you will receive a confirmation link at your new email address. You must click this link to complete the change. Until confirmed, your login email remains unchanged.
To change your email:
- Go to Settings
- Edit the Email field
- Click Save
- Check your new email inbox for a confirmation link
- Click the confirmation link to activate the change
Password
Update your account password. This applies to accounts using email/password authentication.
If you signed up with Google or Microsoft OAuth, the password section may not apply to your account. Your authentication is managed by your OAuth provider.
To change your password:
- Go to Settings
- Enter your new password in the Password field
- Click Save
Multi-Factor Authentication (MFA)
Add an extra layer of security to your account with time-based one-time password (TOTP) multi-factor authentication. When enabled, you will need both your password and a code from your authenticator app to log in.
Enabling MFA
- Go to Settings
- Find the Multi-Factor Authentication section
- Click Enable
- A QR code will appear on screen
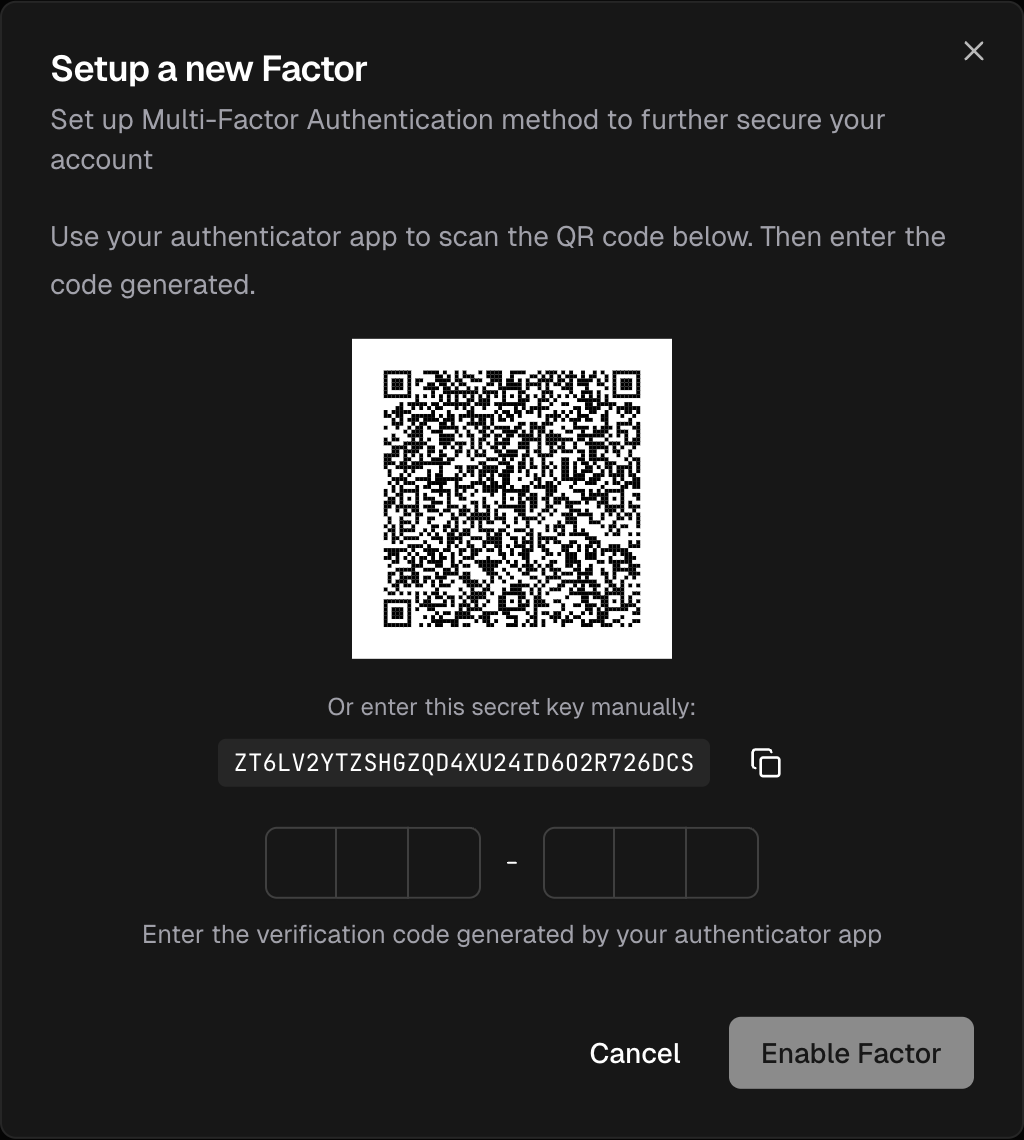
- Open your authenticator app (Google Authenticator, Authy, 1Password, or any TOTP-compatible app)
- Scan the QR code with your authenticator app
- Enter the 6-digit verification code shown in your authenticator app
- Click Save to complete enrollment
After enabling MFA, save the backup/recovery codes in a secure location. These codes let you access your account if you lose access to your authenticator app.
If you lose access to your authenticator app and do not have backup codes, you may be locked out of your account. Always keep your backup codes in a safe place (password manager, secure note, printed copy).
Disabling MFA
- Go to Settings
- Find the Multi-Factor Authentication section
- Click Disable
- Confirm the action
CalendarPipe Attribution
By default, every event CalendarPipe syncs to a target calendar has a small attribution line appended to its description:
✨ Synced by CalendarPipe.com
This applies to events delivered in both Direct and Invitation mode (see Delivery Modes). The attribution is added after your gate function runs, so it is the last thing in the description on the synced copy only -- the source event is never modified.
Turning attribution off
You can disable attribution from the CalendarPipe attribution card on the Settings page. New and updated events will be delivered without the attribution line.

Disabling attribution is a Pro plan feature. On the Free plan the toggle is locked on and clicking it prompts you to upgrade. Pro subscribers can switch it on or off at any time.
The setting is account-wide -- it applies to every sync rule on your account. Toggling it off does not rewrite events that have already been synced; the change takes effect on the next sync.
Theme
CalendarPipe supports light and dark mode. You can set your preference in the Settings page:
- Light -- Light background with dark text
- Dark -- Dark background with light text
- System -- Automatically matches your operating system's theme preference
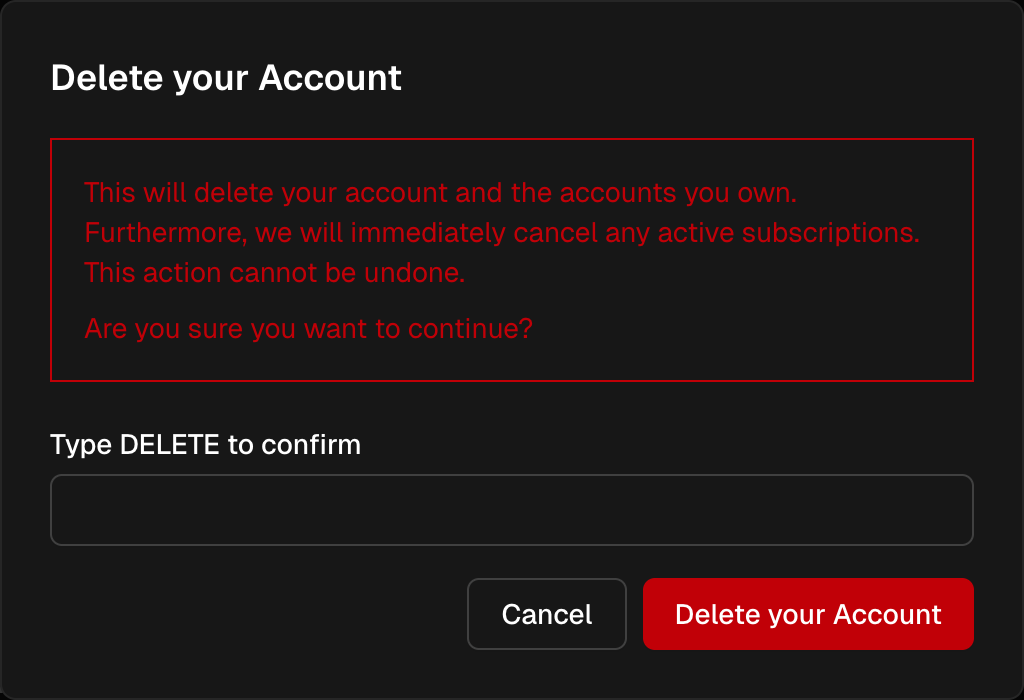
Danger Zone -- Delete Account
Permanently delete your CalendarPipe account and all associated data.
Deleting your account is permanent and cannot be undone. All of your data will be permanently removed, including:
- All calendar connections
- All sync rules and gate functions
- All hosted calendars and their events
- Your account profile and settings
- Your subscription (if active, it will be cancelled immediately)
To delete your account:
- Go to Settings
- Scroll to the Danger Zone section at the bottom
- Click Delete Account
- Confirm the deletion in the dialog that appears
- Your account and all data will be permanently removed